DonorPoint GUI Basics
Home page
The first screen you see after logging in is usually the Home Page. The default home page shows, at a glance, your account’s historical and year-to-date performance, as well as links to your most recent transactions and contacts. Depending on your browser settings any text in blue will be a link to a detailed view of that item.
You can choose to make certain reports or dashboards your home page. In that case the “DonorPoint” link in the upper left corner of the page will take you to the default home page.
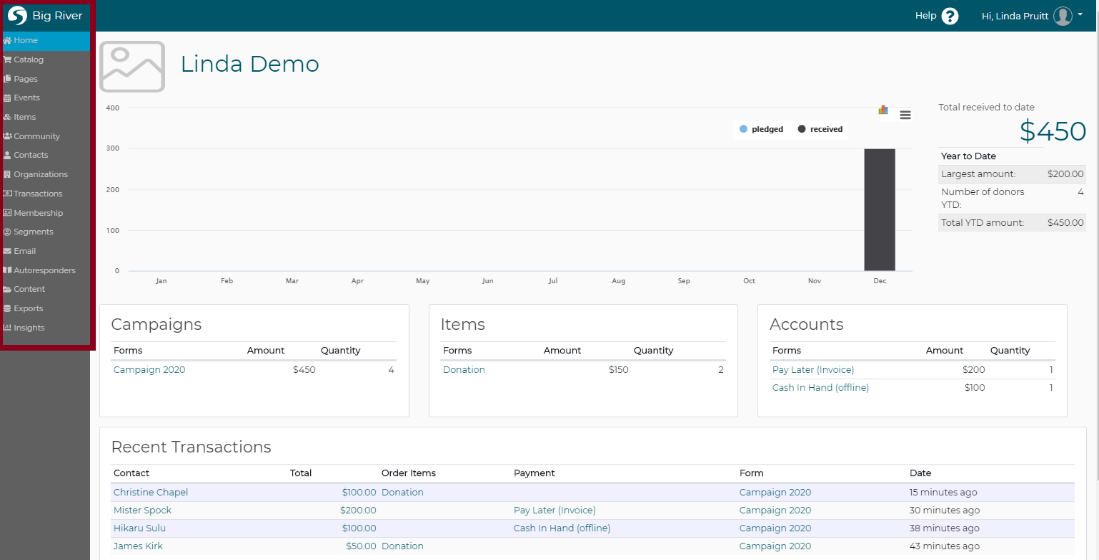
The left menu contains links to the main functions of DonorPoint. Your tabs you see may be limited depending on the permissions assigned to your account:
- Catalog - objects and functions to manage your giving catalog
- Forms - objects and functions to manage landing forms
- Activities - objects and functions to manage events, raffles, and auctions
- Items - objects and functions to manage items in the system
- Community - objects and functions to create and manage peer-to-peer and crowdfunding fundraisers
- Contacts - your database of individuals
- Organizations - the organizations in your system
- Transactions - all the transactions in your system
- Opportunities - objects and functions to create and manage opportunities that are linked to contacts or organizations in your system
- Membership - all the memberships in the system, if you use DonorPoint to sell memberships
- Segments - groups of contacts that can be utilized through the system to create lists, send emails, and more
- Email - objects and functions which allow you to create, send and track targeted emails
- Autoresponders - a list of email templates used for recurring payment communications and other automatic system emails
- Content - objects and functions for creating custom page frames
- Database - objects and functions for creating and managing special content in DonorPoint
- Social - objects and functions for managing social media as part of your DonorPoint fundraising and events
- Insights - takes you to standard and custom reports, including the tools for managing scheduled reports
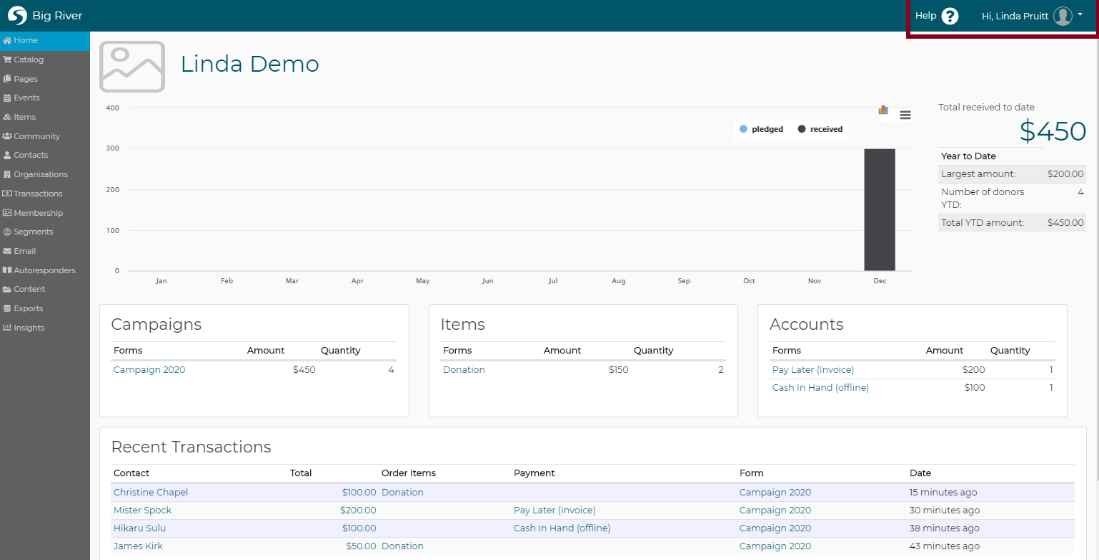
At the top right corner of the screen is a dropdown for functions related to your account:
- Manage account - objects and functions to manage your DonorPoint account
- My Profile – objects and functions to manage your user profile
- Log out – log out of DonorPoint
Help
Also at the top right corner is the Help link. It will take you to the DonorPoint/Big River support site where you can find User Guides like this one and answers to Frequently Asked Questions. You can also go here to open a support ticket.
List Views
List views of any type in DonorPoint share a common layout and a number of common functions.
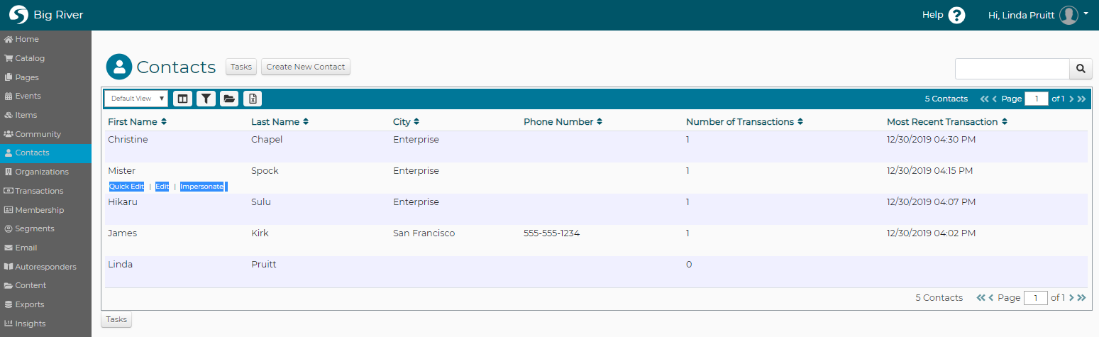
Buttons contained near the page title above the header of the grid allow you to create a new line item or perform specific tasks related to the list you are viewing.
List items are generally displayed in the order created. The number of objects meeting the current search criteria appears in the list header. Controls at the bottom right side of the list allow you to page through the current list, 20 items per page.
You can search for a specific record or records from all the items in the list by typing your desired search criteria in the “Search” field on the right side above the grid header.
You can sort the contents of any list by clicking on the arrows at the top of each column. Clicking additional times reverses the order of the sort.
The information that appears in a list may be modified by clicking on the icons in the blue bar above the grid:
 Select columns to display in the list and set the desired order for display, left to right in the grid. The columns available to you may be limited based on the permissions assigned to your account.
 Filter which line items will appear in the list; multiple criteria may be selected. Clicking the ”Reset” button closes the filtering window.
 Save a selected or filtered list for future use. Saved views are listed in the ”Views” dropdown in the upper left corner of the grid.
 Export a CSV version of the list you are viewing to Excel. Export files are limited to 10000 objects. Use a report for greater control of exports
You can view and edit basic properties of any item in the list by clicking on the “Quick Edit” link which appears under the contents of the first column when you hover over a list item.
You can view a list item in detail or edit it by clicking on the “Edit” link which appears under the contents of the first column when you hover over a list item. Some lists of objects will have additional links to common tasks or views.
Object Editors
Editors of any object type in DonorPoint share a common layout and a number of common functions.
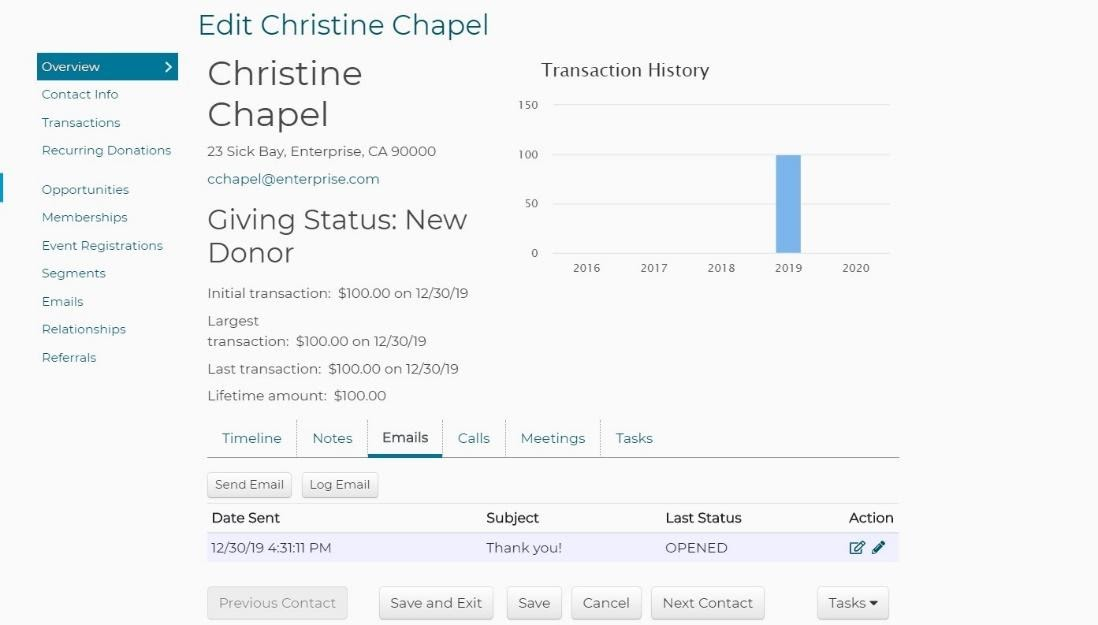
Content for most objects are organized into tabs, found in the sidebar menu on the left and right sides of the screen. There may also be tabs on the item page, such as Timeline and Notes that are found on a Contact page. Each tab contains related data or controls. The controls allow you to edit the properties of the object.
** Many objects will have a Reports tab which contains reports specific to that type of object in the context of that object. When run these reports will be automatically filtered by the object they are run from **
At the bottom of the screen are buttons for performing specific tasks. All object types contain the following buttons:
- Previous – save changes and go to the previous item in the list
- Save and Exit – save changes and exit the editor
- Save – save changes but do not exit the editor
- Next – save changes and go to the next item in the list
- Cancel – exit the editor without saving changes
The properties of an object consist of controls. Controls may have hints describing how their content is used. Types of controls include:
- Single line of text
- Checkbox
- Multi-line text
- Date/time with popup calendar
- Rich text/HTML content
- Code content
- Image or file upload
- Dropdown or search/suggestion box with additional controls (see below for more information)
- Table of linked objects
Dropdown and search/suggestion boxes allow you to set the value of the property of an object by linking it to another object in DonorPoint. Dropdowns contain all the objects of their class while a search/suggestion box searches for objects by name from the text you type in the box.
Dropdowns and search/suggestion boxes may have additional controls attached to them:
 Create a new object. This will pop up a dialog box prompting you to enter property values for the new object. After saving the object you may be taken to a detailed edit page to make further property choices.
 Edit the currently selected object. You may be taken to a detailed edit page to make further property choices.
 Duplicate the currently selected object. You may be taken to a detailed edit page to make further property choices.
Reuse
Often you will see a notice on an editor or popup dialog indicating that the object you are editing is used on more than one page. This is to remind you of a powerful feature of DonorPoint –Reuse. Those objects which are used as properties of objects may in turn be used by multiple other objects. For example, a custom property such as an email header may be used as a property in many different email items. Reuse makes it very fast and easy to create new objects in DonorPoint by reusing existing objects or properties. But it has the drawback that you may make unexpected changes across objects when editing the property. Keep an eye out for those alerts from DonorPoint that objects are reused!
If you have questions about reusing objects, contact support at help@donorpoint.com.
When the property of an object contains many sub-objects it is edited from a table. Objects will appear on the DonorPoint form in the order in which they appear in the table.
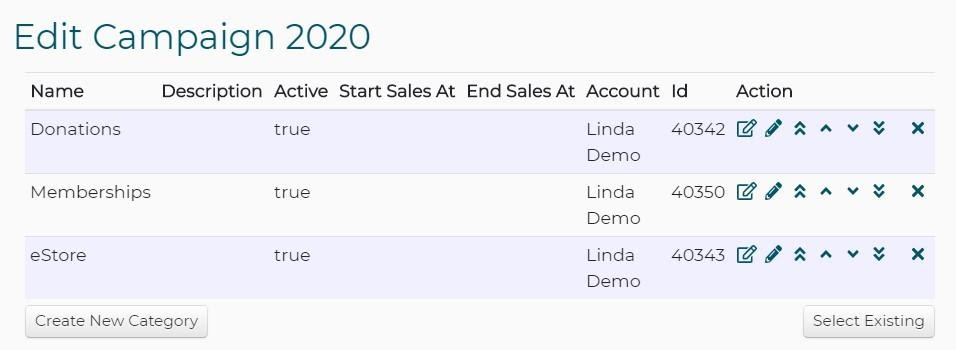
Each object in the table may have control icons:
 Pop up a quick edit dialog box with limited properties of the object
 Open detailed editing for the object
 Move the selected object to the top of the table
 Move the selected object up one line
 Move the selected object down one line
 Move the selected object to the bottom of the table
 Remove the object from the table. This does NOT delete or archive the item from the DonorPoint database. See Archiving Objects for more details.
At the bottom of the table are additional controls that will help you populate the table:
- Create – create new objects to appear in the table. You may be taken to a detailed edit page to make further property choices for the new item.
- Select Existing – Pop up a list of existing objects to choose from, or you can search for an item by name. By default, archived objects are excluded from the search but you may include them by checking the “Include Archived Items” checkbox in the Search dialog box.
- Clear - removes all objects from the table
- Export - downloads a CSV file of the table contents
HTML Editing
Most of the content in DonorPoint, such as item descriptions, document templates and email content, is set up in HTML and can be edited using a common web-based HTML GUI editor. Common rich text formatting for text and paragraphs are available. The editor also supports copy and paste of text and images from your computer clipboard.
Tip - Do not copy and paste from Microsoft Word or other document editors, as the HTML they generate is highly complex and may not appear in a browser or email client the way it appears in that product’s editor.
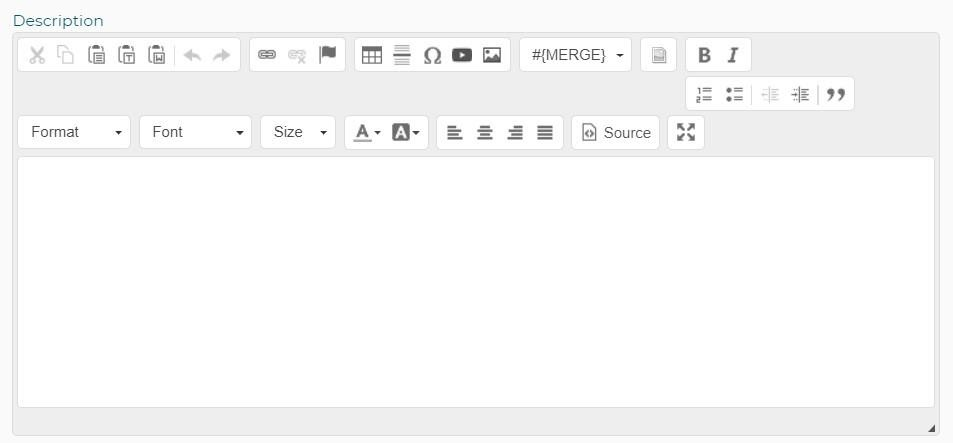
DonorPoint supports common content as well as personalization of your content through merge tags such as contact information, transaction information, day and date, and user data. The “#{MERGE}” button displays a dropdown of supported DonorPoint merge tags.
Best practice is not to use tables for item descriptions, as they will conflict with the responsive nature of the giving catalog and landing pages.
When inserting images best practice is to resize the image in an external image editor before inserting into the HTML editor. Email clients like Google Mail will ignore any width and height attributes attached to an embedded image and will insert the image in its full size when delivering emails.
To include video via YouTube, you must use the YouTube link instead of the YouTube embedded iframe. You will have the option to embed the video, or embed a preview image as a link to the video, which is suitable for emails.
You can edit the raw HTML source code using the “Source” button on the HTML editor.