Contacts and Organizations
Creating Contacts and Organizations
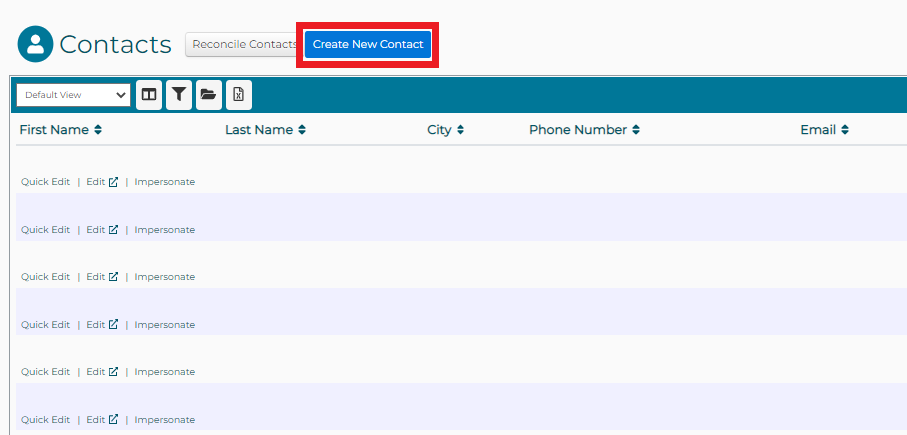
CONTACTS in DonorPoint are created and managed from the CONTACTS menu item in the gray menubar.
To enter a new contact click on the “Create New Contact” button.
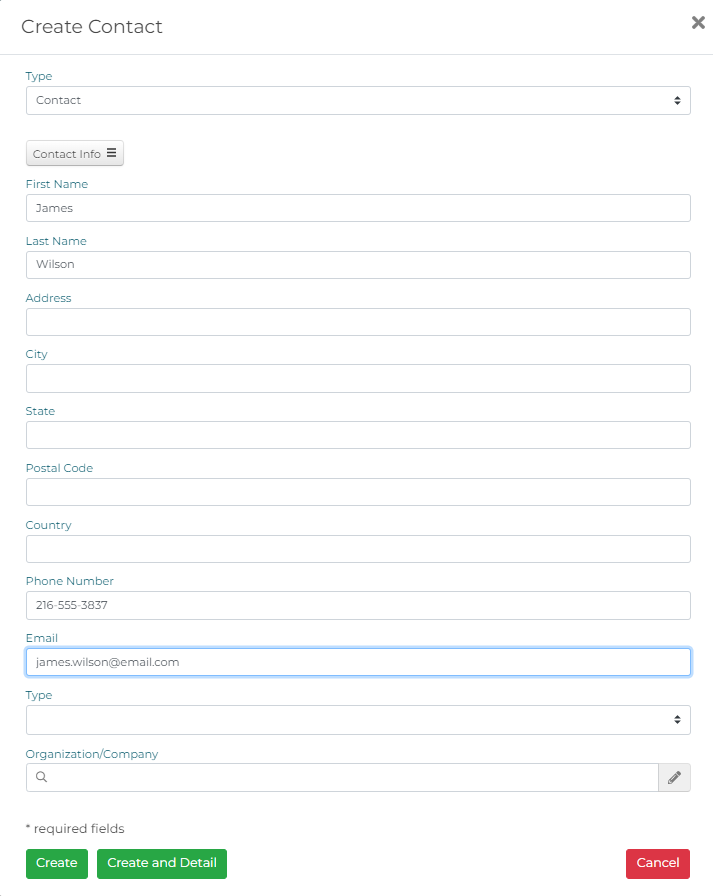
Enter the information about the contact – name, address, city, state, zip, phone, email address.
Click and “Create” or “Create and Detail” to save your entry.
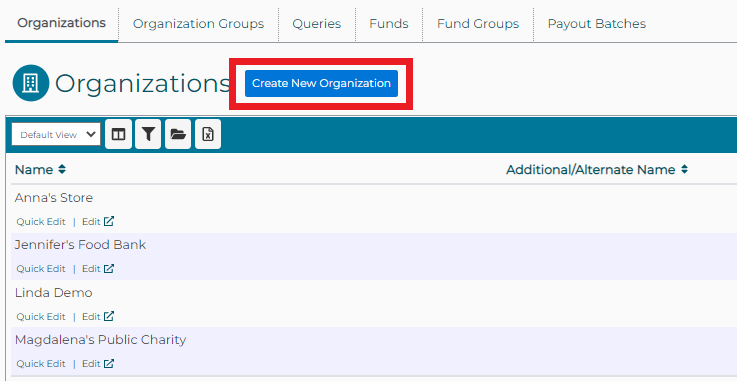
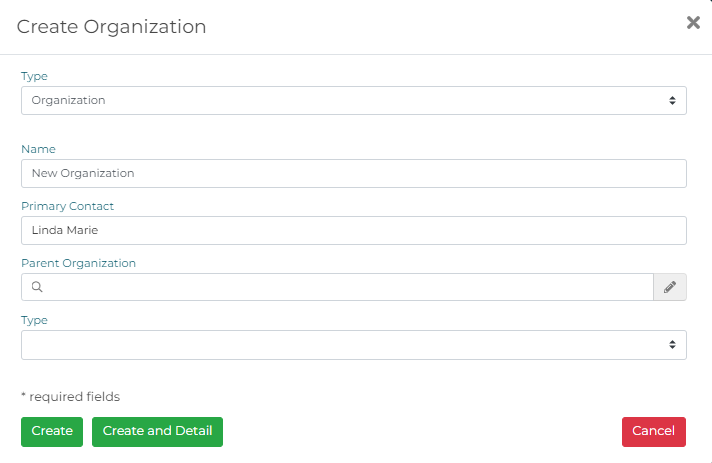
ORGANIZATIONS in DonorPoint are created and managed from the ORGANIZATIONS menu item in the gray menubar.
To enter a new organization click on the “Create New Organization” button.
Enter the information about the contact – name, primary contact, parent organization, if any, and organization type.
Click and “Create” or “Create and Detail” to save your entry.
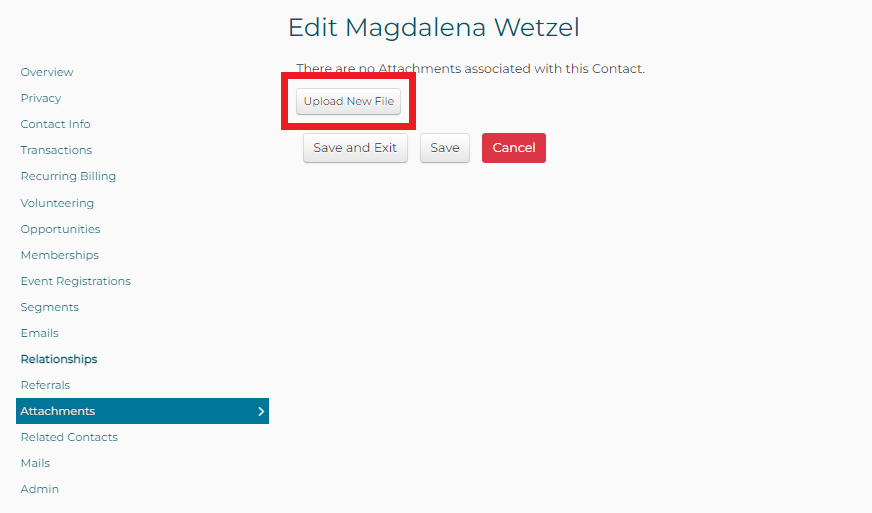
Attaching a File to a Contact or Organization
You have the ability to add attachments to contacts and organizations in DonorPoint. Attachments can be any type of file – document, pdf file, image file, etc.
Select and edit the contact or organization.
Under the ATTACHMENTS tab click on the “Upload New File” button.
Add a Description of the file you are attaching, then click on the “Upload File” button to select the file from your system.
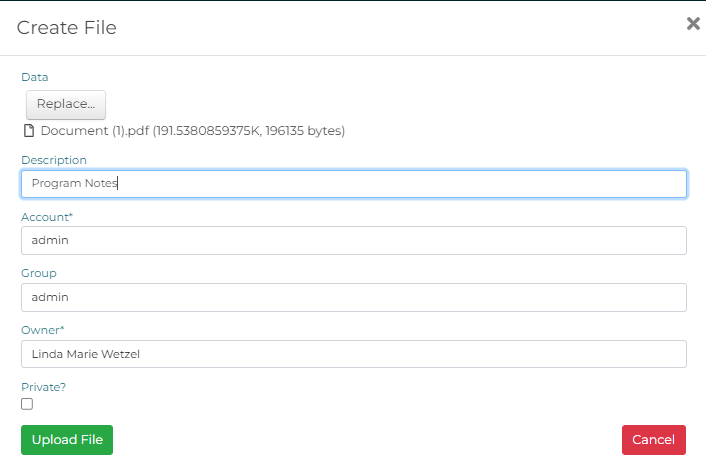
After the file has been uploaded, click on the “Create” button at the bottom of the page to save your attachment.
Details of the attachment are controlled from the attachment line, as follows.
- Download a copy of the attachment by clicking on the
 icon.
icon. - Edit the attributes of the attachment by clicking on the
 icon.
icon. - Remove the attachment from the record by clicking on the
 icon.
icon.
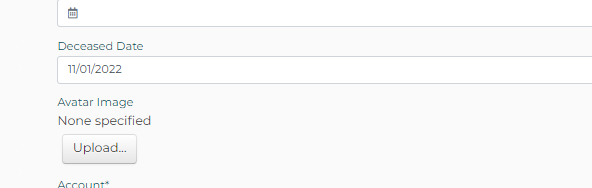
Deceased Contacts
A contact may be identified as deceased by entering a date of death into the record.
Open the contact and go to the CONTACT INFO tab. Locate the data field for “Deceased Date.” Enter the date of death. Click on “Save” or “Save and Exit” to save your entry.